iCloud provides its users with means to store data such as documents, photos, and music on remote servers for download to iOS, Macintosh or Windows devices, to share and send data to other users, and to manage their Apple devices if lost or stolen. Chances are you have a bunch of DVD collections and also wanna upload the DVD movies into iCloud so that you can enjoy your funny DVD movies in your iOS devices like iPad, iPhone and more without having to insert a DVD into a DVD player. However, it turns out that iCloud is not capable to store DVD movies. To transfer DVD to iCloud, you need to rip your DVD and convert DVD to iTunes compatible format because DVDs are CSS protected and you cannot directly copy them to iCloud. In this tutorial, i will share some useful tips and tricks with you.
To convert DVD to iClound format effortlessly, here Brorsoft DVD Ripper is highly recommended. The program provides good quality output regardless of the end device that you are going to use. It can convert DVD to iCloud supported QuickTime MOV or MP4 in simple steps. Besides, you can crop the black bars, add special video effects, split or merge videos, etc. as you like with the built-in editor.As the No.1 fast DVD conversion software in the market which decrypts almost all copy-protected DVDs. It is extremely easy to use if you need to save your entire DVD library to the cloud. Just get it and rip videos from DVD disc to iCloud supported videos for storing, syncing or playback without hassle.
How to rip and upload DVD to iCloud easily and fast
Step 1. Load DVD movies to the program
First, of all the process starts at the DVD drive, insert your DVD in the drive, then launch the best DVD ripper. Add or load your DVD movie or your ISO file in the DVD Ripper.
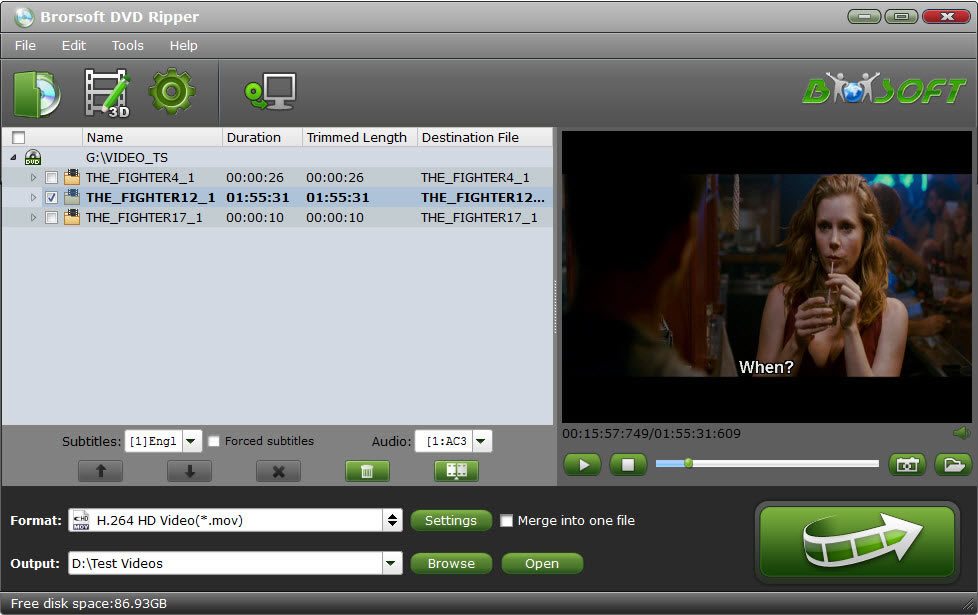
Step 2. Select iCloud format and output folder
After you have successfully completed loading your DVD, select the output format and folder. If you do not have a ready folder, create one where you can easily locate it. The video formats available are M4V, MP4 or MOV. In this case, we shall select MP4 Video from the Common Video choices only for description purposes.
Tip: The default setting can work great. If you want to customize the output video quality, you can click the "Settings" button to open the Settings window and set video resolution, frame rate, bit rate, codec, etc.
Step 3. Start ripping DVD to iCloud
After selecting your desired format and the destination file you can opt to make changes or settings and if you are OK with the way the format is click the "Convert" button to initiate the conversion. When the conversion is done, you can click on "Open" button to locate the ripped videos.
That's all! When the conversion is finished, you can log on your iCloud and transfer the converted DVD files to iCloud
ReplyDeleteThanks for sharing with Us.
It's really a helpful post.By the way, I know more methods to convert dvd to icould.