Sony Vegas is Windows based video editing software to make home movies, especially for editing camcorder videos. But if you are an experienced Sony Vegas user, you may learn that it is painful to import DVD into Sony Vegas Pro (Vegas Pro 13 included) since Sony Vegas doesn't support DVD format. So what if we want to extract some clips from our DVD and put into Sony Vegas Pro to create a new project file for further use? No worry, from this article, you'll learned how to fix the annoying issue!
"Hi all! I’m new and I am looking for help with ripping DVD content for editing in Sony Vegas Pro 10? What do you use that works?!"
"i need to be able to edit clips from DVD movies in Vegas. so i need to convert the movie into a file format that Sony Vegas understands. what software is best for converting the movie?"
As the user mentioned above, to import DVD video to Sony Vegas timeline, we need convert DVD to a video type that Sony Vegas support. Overall, Brorsoft DVD Ripper is just the right software to rip DVD to MPEG-2/WMV for easy importing to all versions of Sony Vegas(Vegas Pro 10/11/12/13). Besides Sony Vegas, this DVD ripping software can also help you convert DVD to an edit-friendly format for Adobe Premiere Pro, Avid Media Composer, Windows Movie Maker, Pinnacle Studio and more NLEs on Windows PC. Just download this program and follow this guide below to complete importing DVD clips to Sony Vegas Pro for further editing.
Download Blu-ray to Sony Vegas Converter:


How to Convert DVD to Sony Vegas supported video files
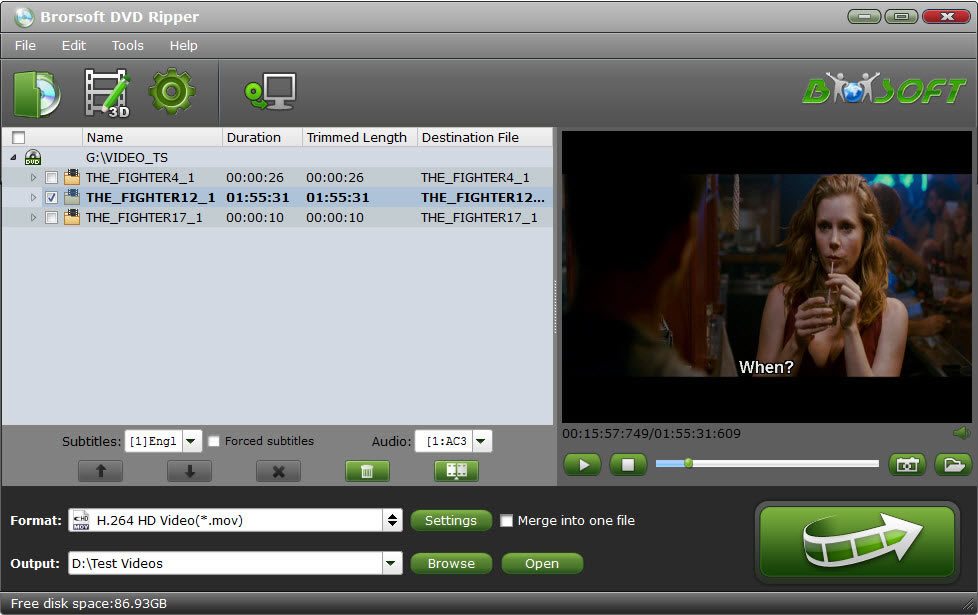
1. Load your DVD movies
Insert the DVD disc into your computer's DVD drive and click the "Load DVD" button to import the DVD movie you want to rip to the program.
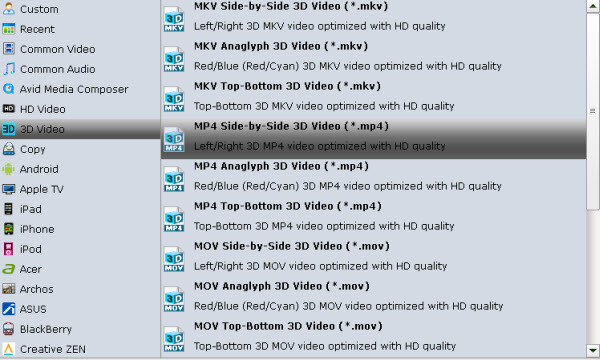
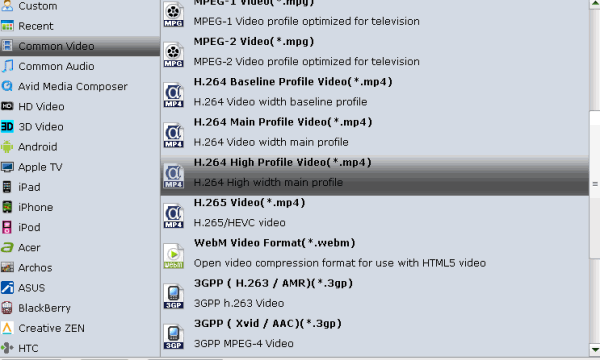
2. Select Sony Vegas output format
Click the format column to choose output format. For Sony Vegas editing, "Adobe Premiere/Sony Vegas > MPEG-2 (*.mpg)" is one of the best compatible video formats for you to choose. Of course, you can choose

3. Start converting DVD to Sony Vegas
When all is done, click "Convert" to begin the DVD to Sony Vegas video conversion. Just wait for the process to finish. After that, you can get the MPG videos and just open Sony Vegas and import the converted MPG videos for editing.
Tips & Tricks:
1. Adjust audio and video settings (optional)
The DVD to Sony Vegas converter enables users to adjust audio and video settings before transcoding DVD files to MPEG-2. Click “Settings” button, then you will enter the following interface, on which you are allowed to customize size, bit rate, frame rate, sample rate, and audio channel to your required ones.
2. Basic video editing (optional)
Brorsoft DVD Ripper also has some simple edit functions like cropping, splitting, adding effects etc. so you can touch up the video with basic video editing functions.
After the conversion is complete, get the resulted files via clicking the Open button and then you can import converted .MPG files to Sony Vegas Pro 13/12/11/10 for further editing without any hassle.
Read More:
Import DVD into iMovie for editing on Mac
Edit DVD video files in Premiere Pro
Rip and Convert DVD to Final Cut Pro